

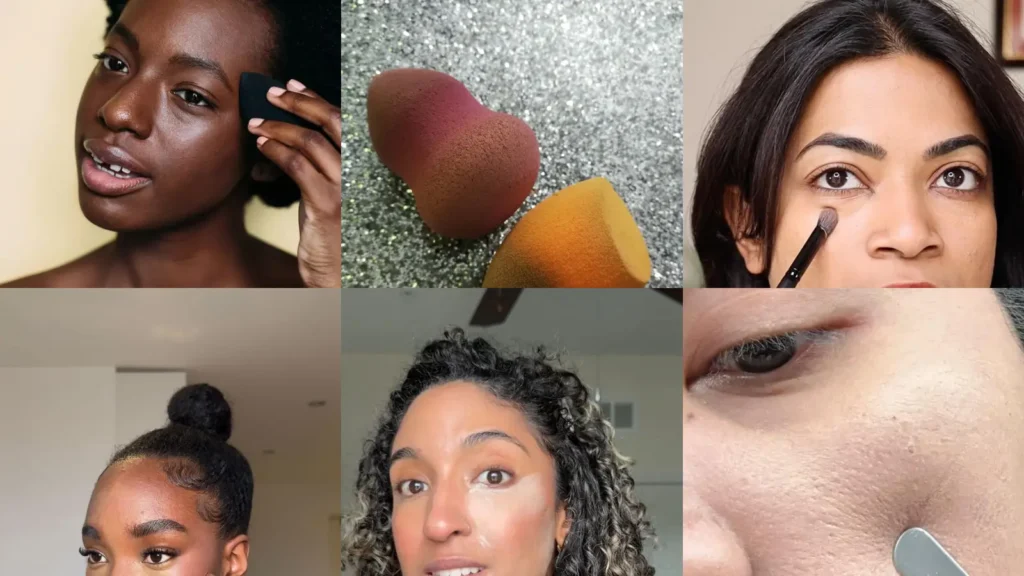
Too many products and not enough time in the morning? Same!
Between primers, powders and fifteen different setting sprays, it’s hard to know what’s actually helping your face and what’s just sitting on top of it, lol!
This list exists because scrolling through hundreds of makeup tips online gets exhausting fast. So the goal here was to keep only the ones that are actually doable on a random Tuesday morning, not the ones that need a beauty school degree.
Every tip below is something you can try with things already in your bathroom cabinet or a quick drugstore run. No fancy tools required, though a few good brushes never hurt anybody.
Cakey makeup usually comes down to a handful of small habits, not one big mistake. Skin prep, product choice and how you blend all play a part.
Once you see the pattern it’s honestly kind of obvious, right?
Use this as a menu, not a checklist. Pick the three or four tips that match your skin type and morning routine, then build from there.
Ready to finally get that smooth, second-skin finish? Let’s get into it!
HOW AVOID CAKEY MAKEUP
Prime Skin Before Foundation

Skin is the actual base of your makeup, not the foundation. Prime it with a hydrating layer before anything else goes on.
Everything after it sits so much better!
This step alone fixes half the cakey complaints out there. It just needs a minute, not a whole routine. A basic gel moisturizer does the trick.
- The skip everyone regrets
- Takes about sixty seconds
- Works under any foundation
Use A Damp Beauty Sponge

A damp sponge presses product into skin instead of piling it on top. That difference is basically the whole game when it comes to these situations before they start.
Squeeze the sponge out well first. A soggy sponge just waters everything down and nobody wants that, lol!
- Bounce, don’t drag
- Wet it under the tap first
- Blends edges like a dream
Skip Heavy Silicone Primers
Heavy silicone primers can grip too much powder later in the day. They create this slippery film that pilling loves to cling to.
A lighter, water-based primer usually plays nicer with everything you layer on top. It’s a small swap with a big payoff.
- Less slip, less pill
- Check the ingredient label first
- Great for combination skin
Bake Only Under Eyes

Baking only works when it’s used sparingly. Under the eyes is really the only spot most faces need it.
Press a thin layer of powder there. Let it sit a few minutes, then dust off the excess.
Baking your whole face is how you end up looking powdery by noon!
- Under eyes only, please
- Let it sit five minutes
- Brush off with a fluffy tool
Set Face With Mist

A setting mist melts everything together at the end. It knocks down that flat, powdery look almost instantly. How great is that?
Hold the bottle about arm’s length away and give one or two spritzes. Not ten, lol!
- The final melt
- One arm’s length away
- Two spritzes is plenty
Apply Powder With Fluffy Brush

A fluffy brush picks up less product than a sponge or a puff. That matters because too much powder is basically the number one cause of cakey makeup.
Tap off the excess before it touches your face. Less is more here, every single time!
- Tap first, apply second
- Use a big fluffy head
- Great for oily zones only
Moisturize Before Any Makeup

Dry skin and foundation do not mix well. Moisturizer first is non negotiable if you want makeup that actually looks like skin.
Read also: 27+ Routine How Treat Acne Breakouts That Actually Work
Give it a minute or two to sink in before starting your base. Rushing this step shows up later, every time.
A patient minute now saves a patchy midday.
- Give it a minute
- Wait before foundation
- Works for every skin type
Match Foundation To Undertone

A foundation that clashes with your undertone tends to sit awkwardly on skin. That awkward sit reads as cakey even when the formula is fine.
Test shades along your jaw in daylight, not under store lighting. Warm, cool or neutral, the right match blends in like it’s not even there, am I right?
- Jawline never lies
- Test in daylight only
- Skip the back of hand test
Blend With Circular Motions

Circular motions push product into the skin instead of dragging it around on top. Straight lines tend to leave streaks and buildup in the same spots.
Small circles, light pressure, done! It’s a tiny change that makes a big difference.
- Circles over streaks
- Light pressure works best
- Fewer streaks left behind
Exfoliate Skin Twice Weekly

Dead skin buildup is a sneaky cause of cakey patches. Twice a week keeps things smooth without overdoing it.
A gentle exfoliant is plenty. No shame in that, haha!
- Twice weekly, not daily
- Gentle formula recommended
- Keeps flaky patches away
Choose Hydrating Setting Powder
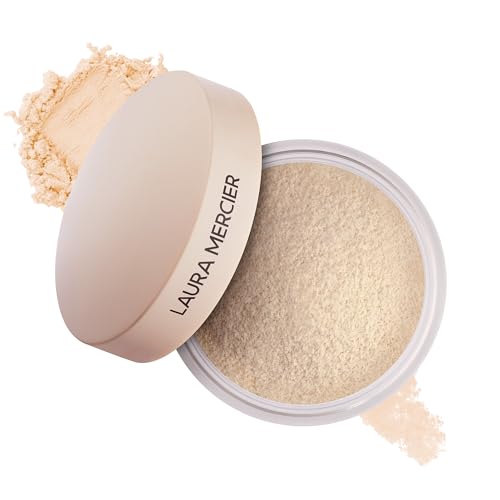
A hydrating setting powder does the job without drying skin out further. Traditional powders can sit on top and look chalky by afternoon.
Look for one with a light, blurring finish instead of a mattifying one. Your skin will thank you!
- Powder that still glows
- Blurring finish over matte
- Skip if skin is very oily
Warm Foundation Between Fingers

Cold foundation straight from the bottle is thick and hard to spread. Warming it between your fingers first loosens it up completely.
The formula spreads thinner and blends faster this way. Same bottle, totally different result.
Who knew body heat was basically a free tool?
- Warm hands, thin layer
Apply Thin Foundation Layers
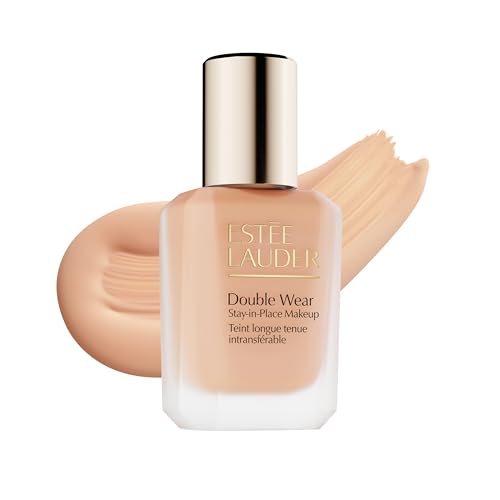
One thick layer of foundation almost always looks heavier than two thin ones. Building up slowly gives you way more control over coverage.
Start light, check a mirror in real light, then add only where needed. Patience wins here every time!
- Thin layers win
- Build coverage slowly
- Check in natural light
Avoid Heavy Mineral Powders
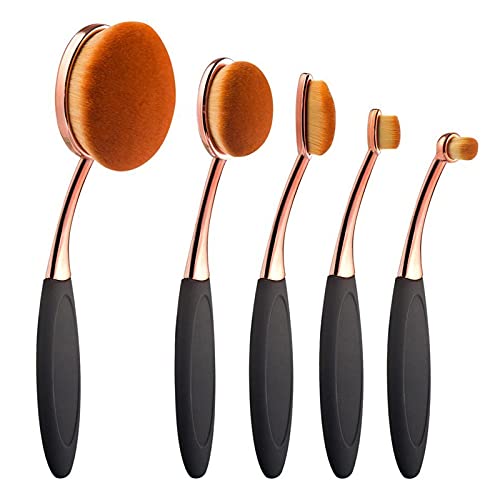
Heavy mineral powders sound nice until they settle into fine lines. That settling is exactly what reads as cakey by midday.
A lighter hand or a finer milled formula skips that whole problem. Your skin will thank you by noon!
- Finer milled powders blend better
Try Tinted Moisturizer Instead

Tinted moisturizer is basically foundation’s more relaxed cousin. It gives skin a little color without the heavy buildup of full coverage.
Great for casual days or when your skin just needs a boost, not a mask. Try it and see how much lighter your whole face feels!
- Foundation’s chill cousin
- Sheer, buildable coverage
- Great for everyday wear
Skip Powder On Dry Patches

Powder on a dry patch is basically asking for a cracked, flaky look by lunchtime. Skip it entirely in those spots.
A dab of moisturizer or a hydrating stick works so much better there instead. Even a tiny bit of lip balm in a pinch does wonders, haha!
- Dab moisturizer there instead
- Avoid all matte powders here
Use Color Correcting Sparingly

Color correcting is a tool, not a whole routine. Using it sparingly keeps the layers underneath your foundation thin.
A little green or peach goes a long way. Too much and you’re just adding extra product for no reason, lol!
- A little goes far
- Dab, do not swipe
Pick Foundation For Skin Type

Oily, dry and combination skin all want different foundation formulas. Picking one built for your actual skin type saves so much frustration later.
A dewy formula on very oily skin can slide around by noon. A matte formula on dry skin can crack.
Match the formula to your face, not the other way around.
- Match the formula, not the trend
- Ask at the counter
- Sample before buying full size
Use Fingers For Blending
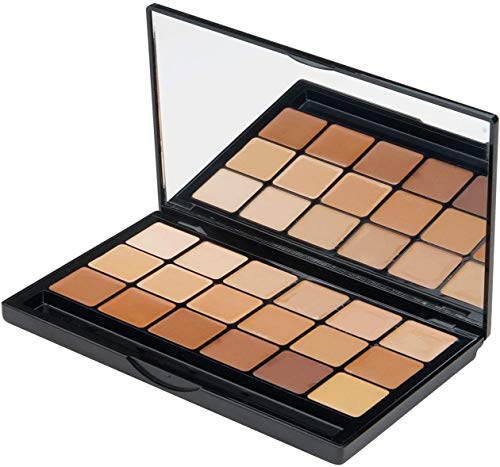
Fingers warm product and press it into skin naturally, no tool needed. It’s honestly one of the most underrated blending methods out there.
Fingertips work especially well around the nose and eyes where sponges get awkward. Who doesn’t love a free tool that’s always in your bag?
- Warmth beats any tool
- No extra tools needed
Avoid Overloading Under Eyes

The under eye area is thin and delicate, so it does not need much product at all. Overloading it is one of the fastest ways to look cakey in photos.
A thin layer of concealer, patted gently, does more than a thick swipe ever will. Not in my book!
- Less really is more here
- Pat, do not swipe
Layer Cream Products Only

Mixing cream products with powder ones mid routine is a common trap. Layering cream on cream keeps the whole look seamless instead.
Cream blush over cream foundation, cream highlighter on top, done! Everything melts together instead of fighting.
- Stay in one lane
Skip Translucent Powder Overuse
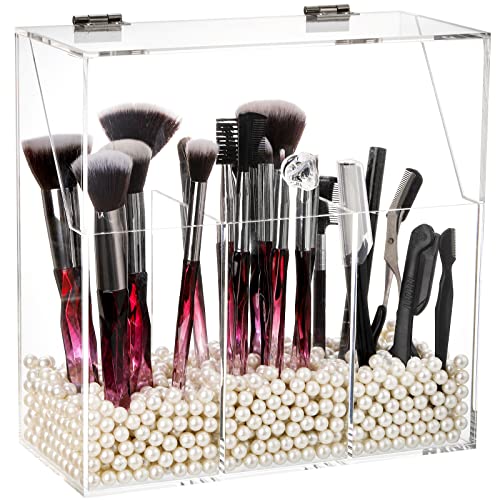
Translucent powder is meant for touch ups, not a full face blanket. Overusing it is a classic cause of that flat, powdery finish.
A light dusting where you actually get oily is plenty. The rest of your face probably does not need it at all, right?
- Touch ups, not blankets
Choose Serum Based Foundation

A serum based foundation blends skincare and coverage into one step. It tends to sit thinner on skin than older, heavier formulas.
This is a great option if your routine feels like too many steps already. One product doing double duty is a win, lol!
- Skincare and coverage together
- One step, two jobs
Use Damp Sponge For Powder
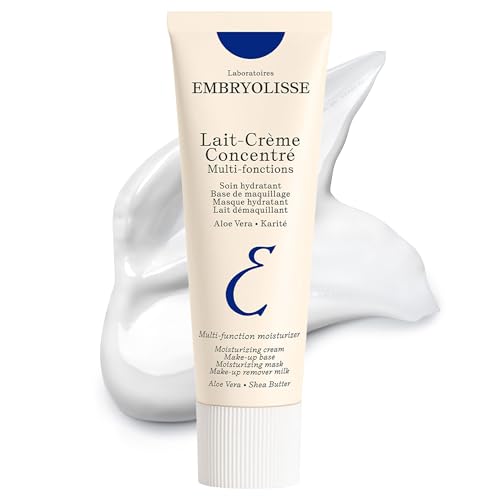
A damp sponge is not just for foundation. Using it to press on powder instead of a dry brush keeps things looking soft instead of chalky. How cute is that?
This trick works especially well for setting concealer under the eyes.
- Press, don’t dust
- Softer finish than dry brushes
Choose Silicone Free Formulas

Last but definitely not least, silicone free formulas deserve a mention. They tend to sit closer to skin instead of forming that slick barrier that grabs onto powder.
Check the ingredient list before buying if this has been an ongoing issue for you. It might be the missing piece your whole routine needed!
- Check the ingredient list first
- Sits closer to real skin
- Good pick for combination skin
Just a little note - some of the links on here may be affiliate links, which means I might earn a small commission if you decide to shop through them (at no extra cost to you!). I only post content which I'm truly enthusiastic about and would suggest to others.
And as you know, I seriously love seeing your takes on the looks and ideas on here - that means the world to me! If you recreate something, please share it here in the comments or feel free to send me a pic. I'm always excited to meet y'all! ✨🤍
Xoxo Emily